
Peanut Butter Cup Cookies
Easy Peanut Butter Cup Cookies (2 Ingredients!)
Every year, our neighbors have a little unofficial Christmas cookie exchange. There’s no set day or time, although it usually happens around Christmas Eve, depending on everyone’s schedules. Neighbors stop by with cookies and holiday snacks, spreading a little Christmas cheer from house to house.

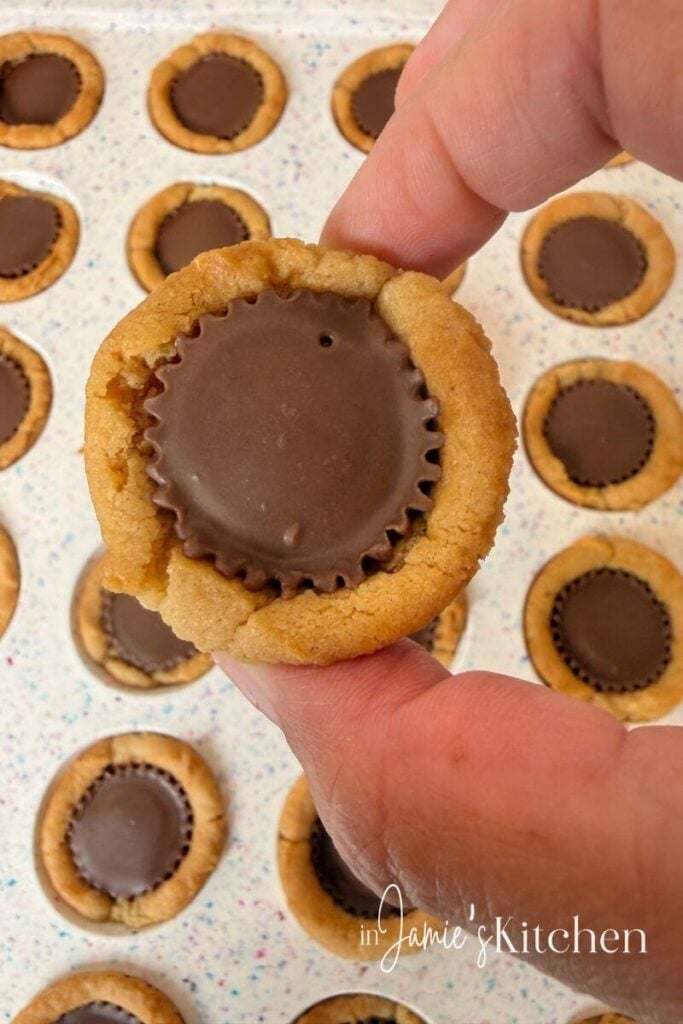
One family always makes these peanut butter cup cookies, and they’re one of the treats we look forward to receiving every year. A soft peanut butter cookie with a Reese’s cup tucked into the center? Yes, please!
Once you see how easy they are to make, you’ll understand why I had to share them. You only need two ingredients, a mini muffin pan, and a few minutes of hands-on time. They’re the perfect cookies to make with kids, and they’re easy to store, pack up, and share.
And while we love them at Christmas, you can make these any time of year. Trust me, no one is complaining.

Why You’ll Love These Peanut Butter Cup Cookies
- Just two ingredients: Refrigerated peanut butter cookie dough and miniature Reese’s peanut butter cups.
- Easy to make with kids: Little helpers can place the dough in the pan and unwrap the candy while an adult handles the oven and hot cookies.
- Perfect for sharing: Once cooled and set, they travel well and fit right into cookie tins, treat boxes, and holiday platters.
- Easy to serve: Each cookie is its own little treat. No slicing or scooping required!
- Great any time of year: Make them for Christmas, birthday parties, potlucks, or just because you want a peanut butter and chocolate treat.

Ingredients You’ll Need
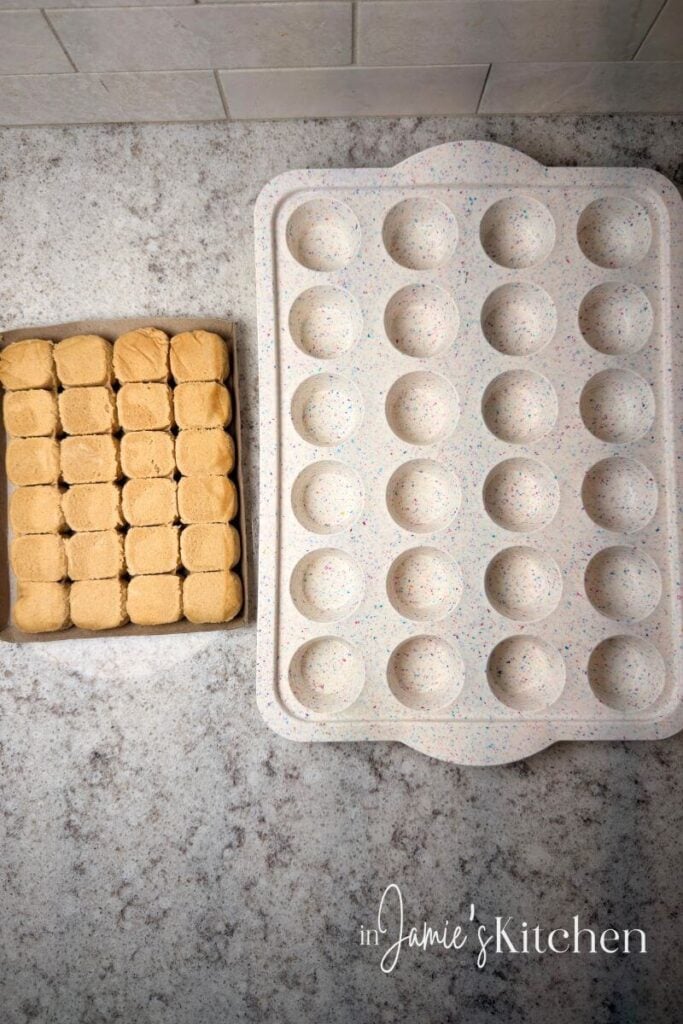
- Refrigerated peanut butter cookie dough: Use one package containing 24 preportioned pieces. There’s no mixing or measuring, and each piece goes right into the mini muffin pan.
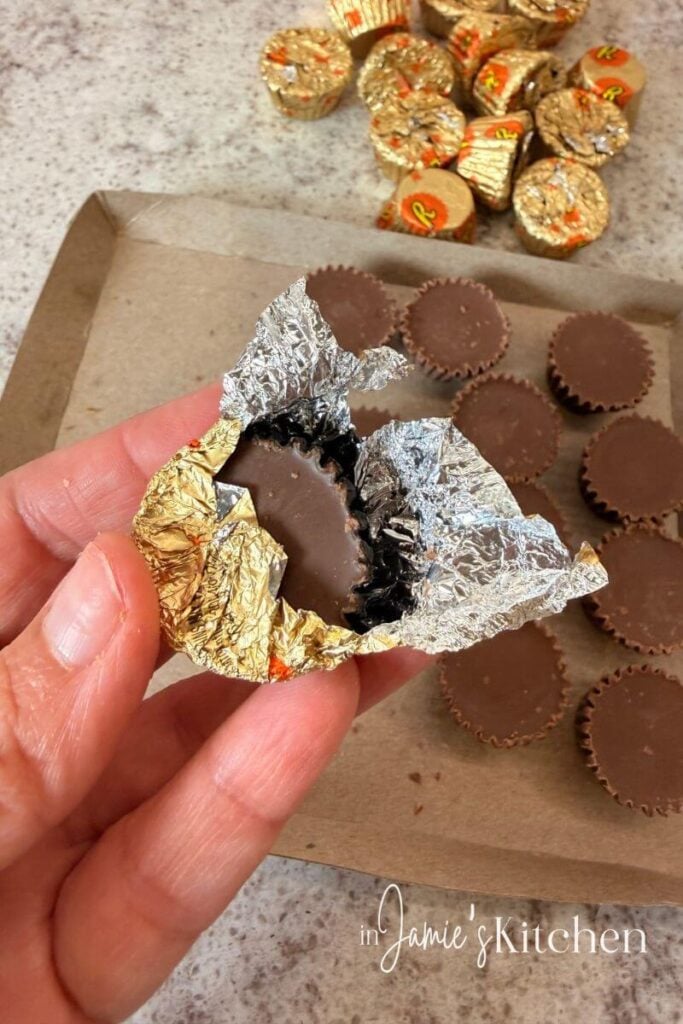
- Miniature Reese’s peanut butter cups: You’ll need 24 individually wrapped miniature peanut butter cups. My 9.6-ounce bag had 29, so I had a few extras. These are the miniature cups you unwrap, rather than the tiny unwrapped Reese’s Minis.
The Pan I Use
I use a silicone mini muffin pan for these peanut butter cup cookies. There’s no need to grease it, and the flexible silicone makes it easy to release the cookies once they’ve cooled completely.
Tip: Place the silicone pan on a baking sheet before filling it. That gives it support when moving it into and out of the oven.
How to Make Peanut Butter Cup Cookies
*printable recipe card is available at the bottom of this page

Step One: Add the Cookie Dough to the Pan
Preheat your oven to 350°F.
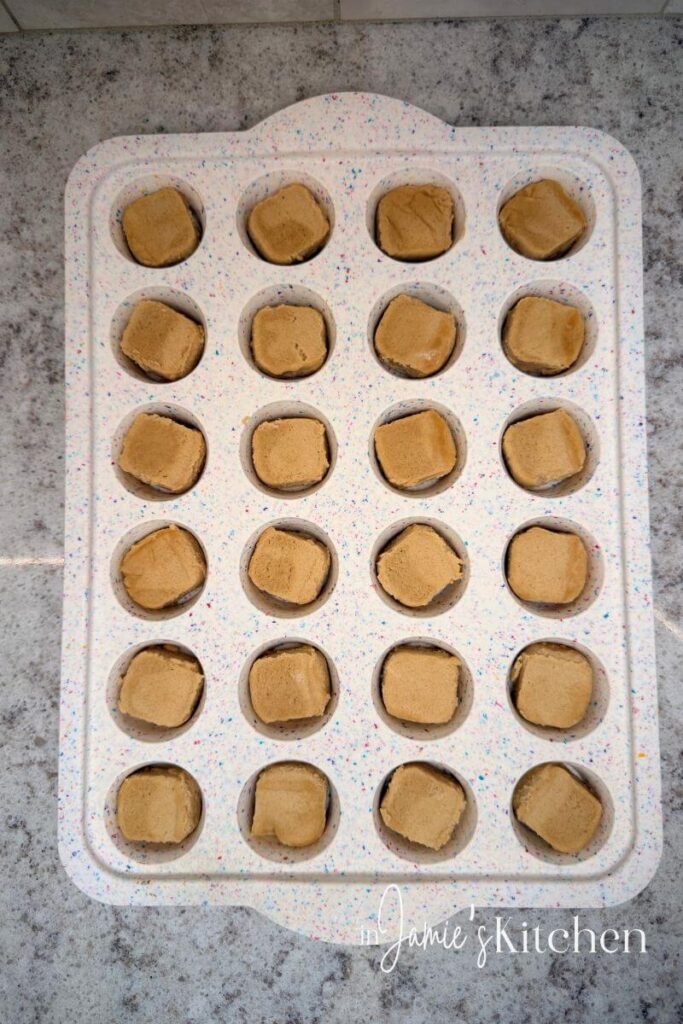
Place one piece of pre-portioned peanut butter cookie dough into each cavity of your silicone mini muffin pan. You’ll use all 24 pieces of dough to make 24 cookies. No greasing is needed!
Step Two: Bake the Cookies
Bake for 14 minutes.
While the cookies are baking, unwrap 24 miniature Reese’s peanut butter cups. Have them ready to go beside your baking area because you’ll add them as soon as the cookies come out of the oven.
This is a great job for the kids. Just keep an eye on how many peanut butter cups make it into the “ready for the cookies” pile!
Step Three: Press in the Peanut Butter Cups
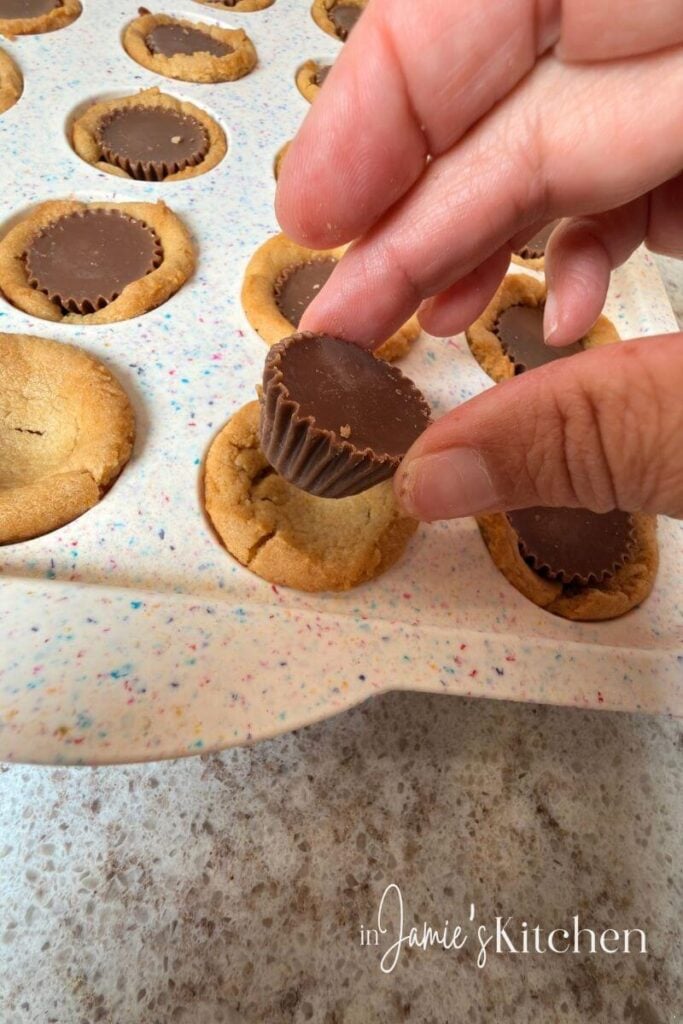
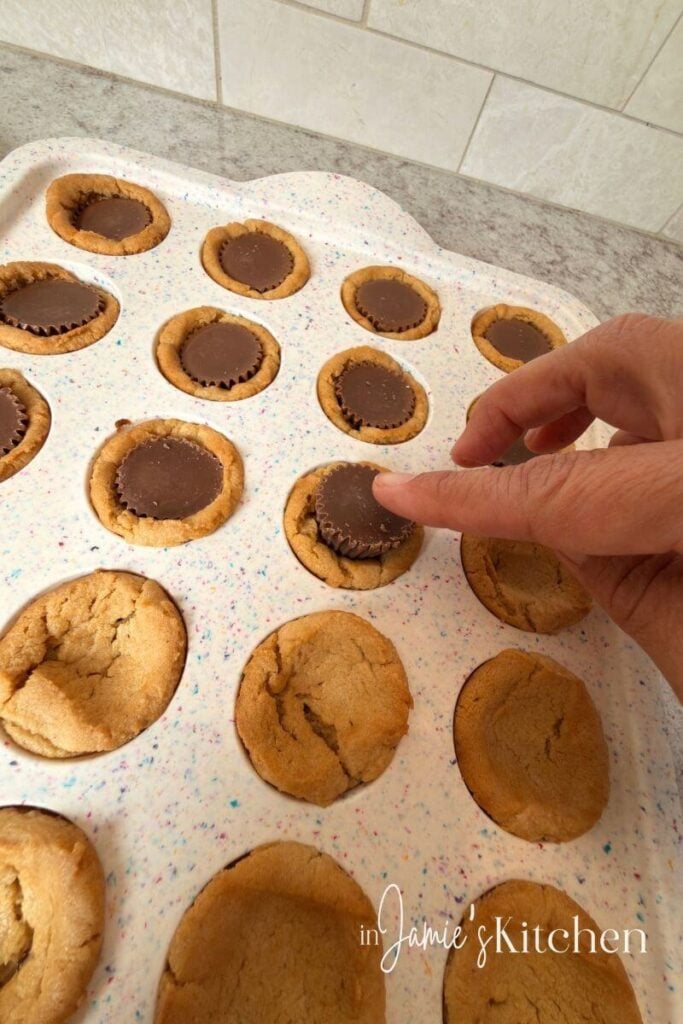
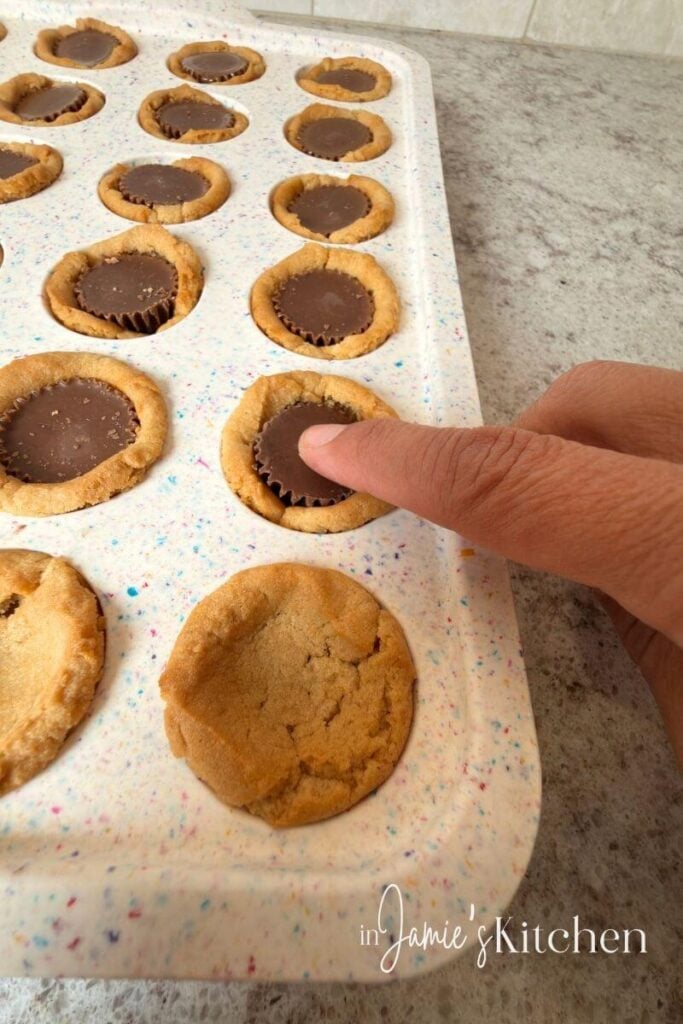
As soon as you remove the cookies from the oven, gently press one peanut butter cup into the center of each cookie.
The warm cookies will be soft enough for the candy to settle into the middle. Push down slightly so the peanut butter cup sits nestled inside the cookie.
The pan and cookies will be hot, so this step is best handled by an adult.
Step Four: Let the Cookies Cool Completely
Leave the cookies in the silicone pan until they’ve cooled completely and the chocolate has set.
This is the part you’ll want to plan ahead for. The prep and baking are quick, but give yourself a couple of hours for cooling before you need to serve or package them.
I put mine in the refrigerator to help speed things up. Even then, these aren’t cookies I would make right before walking out the door.

Step Five: Remove and Enjoy
Once the cookies are completely cool, gently push up from the bottom of each silicone cavity to release them.
Now they’re ready for a cookie platter, a treat box for the neighbors, or a spot on your kitchen counter. You may want to set a few aside for yourself before sharing!


Tips for the Best Peanut Butter Cup Cookies
Unwrap the candy while the cookies bake. You want the peanut butter cups ready so you can press them into the cookies while they’re still warm and soft.
Let them cool in the pan. Trying to remove them while they’re warm can cause the cookies to break apart. Give them time to firm up before releasing them.
Let the chocolate set before packing. The peanut butter cups soften in the warm cookies. Wait until they’re set before stacking or putting them into gift boxes.
Leave time for cooling. These two-ingredient cookies take very little effort, but the cooling time matters. Make them earlier in the day or the day before you plan to share them.

How to Store Peanut Butter Cup Cookies
Once completely cooled, store the cookies in an airtight container in a cool spot. If you’re stacking them, place parchment or wax paper between the layers.
You can also keep them in the refrigerator if your kitchen is warm. Let them sit out for a bit before serving if you prefer a softer cookie.
For longer storage, freeze the cooled cookies in a freezer-safe container with parchment between the layers. Thaw before serving.
Perfect for Cookie Exchanges and More
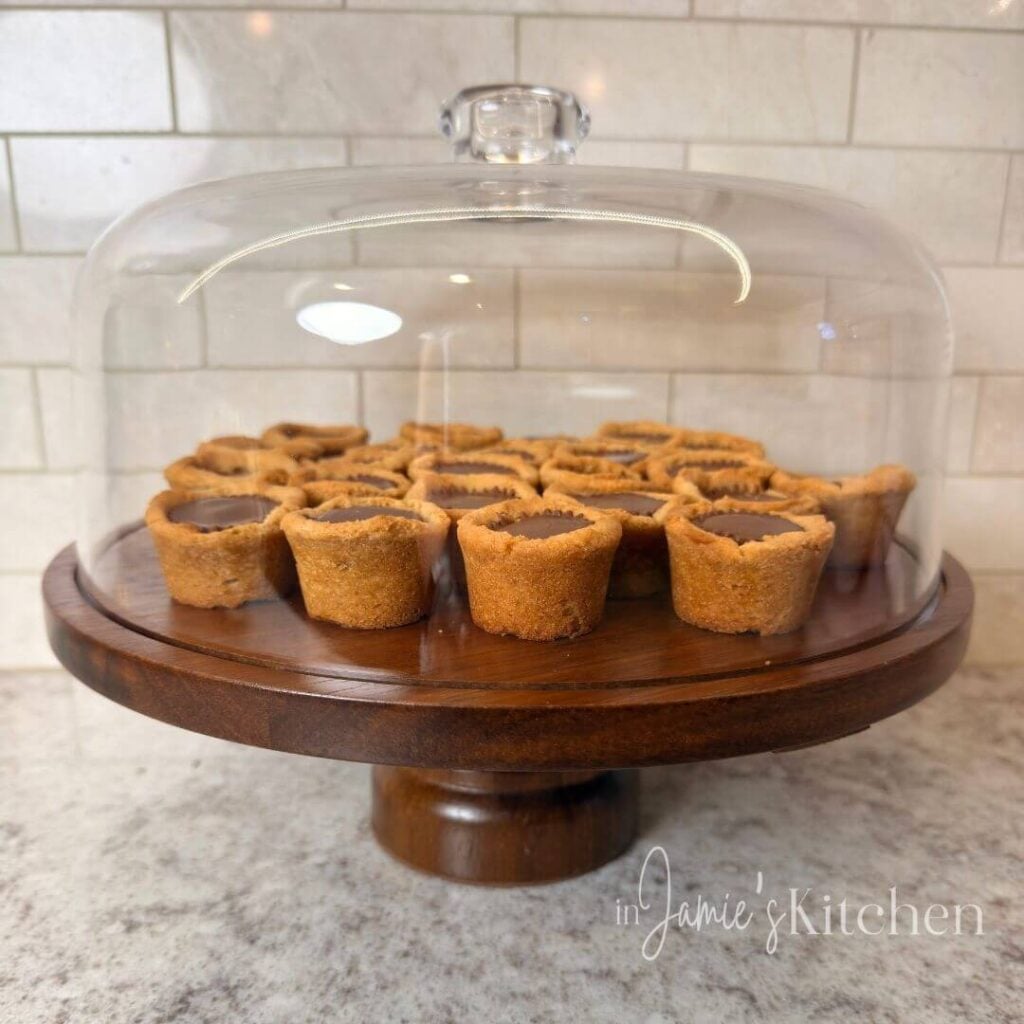
These Reese’s peanut butter cup cookies check all the boxes for a treat you want to share: easy to make, easy to store, easy to transport, and delicious every time.
They’re a welcome addition to a Christmas cookie tray, but there’s no reason to save them for December. Bring them to a potluck, make a batch with the kids, or serve them at your next family gathering.
Around here, peanut butter and chocolate are welcome any time of year.

More Easy Desserts to Share
Crock Pot Hot Chocolate Recipe
Easy Mini Fruit Tart Cookie Cups

Peanut Butter Cup Cookies
Equipment
- Silicone mini muffin pan with 24 cavities
Ingredients
- 1 Package Refrigerated peanut butter cookie dough, preportioned into 24 pieces
- 24 Miniature Reese’s peanut butter cups, unwrapped (one 9.6-ounce bag)

Instructions
- Preheat the oven to 350°F. Place the silicone mini muffin pan on a baking sheet for support. No greasing is needed.
- Place one piece of peanut butter cookie dough into each of the 24 mini muffin cavities.
- Bake for 14 minutes.
- While the cookies bake, unwrap 24 miniature peanut butter cups.
- Immediately after removing the cookies from the oven, gently press one peanut butter cup into the center of each cookie.
- Allow the cookies to cool completely in the pan before removing. Plan for about 2 hours so the cookies can firm up and the chocolate can set. Refrigerate the pan to help speed up cooling.
- Gently release the cooled cookies from the silicone pan and serve.
Video
Notes
- My 9.6-ounce bag contained 29 miniature Reese’s cups; you’ll need 24 for this recipe.
- Use miniature peanut butter cups, rather than the tiny unwrapped Reese’s Minis.
- Even with refrigeration, allow a couple of hours for cooling before you plan to serve or package the cookies.








0 Comments