
Homemade Butter in a Stand Mixer
How to Make Homemade Butter in a Stand Mixer
Making homemade butter is surprisingly simple, and the flavor is so much better than you might expect. All you really need is heavy whipping cream, plus a little salt if you prefer salted butter. Your stand mixer does most of the work, transforming the cream into fresh butter and buttermilk in about 15 minutes.
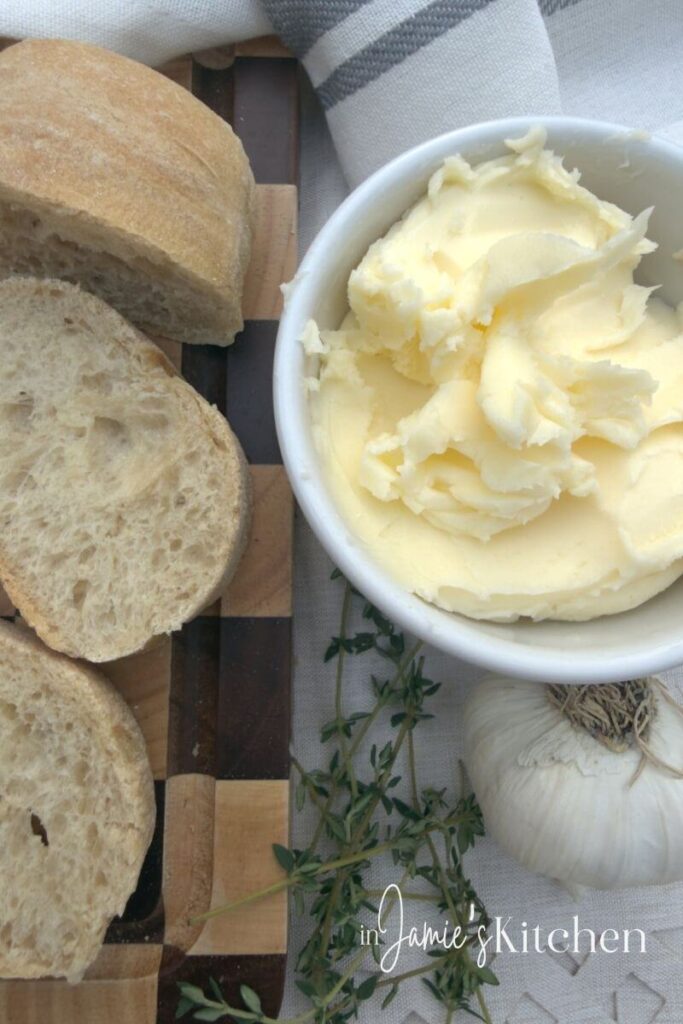
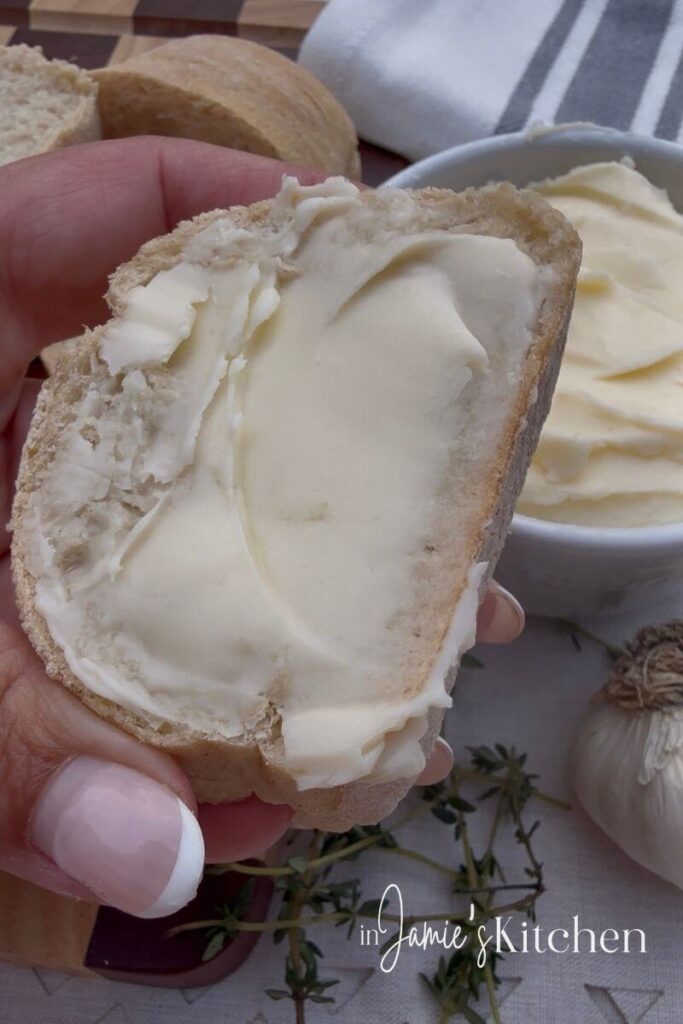
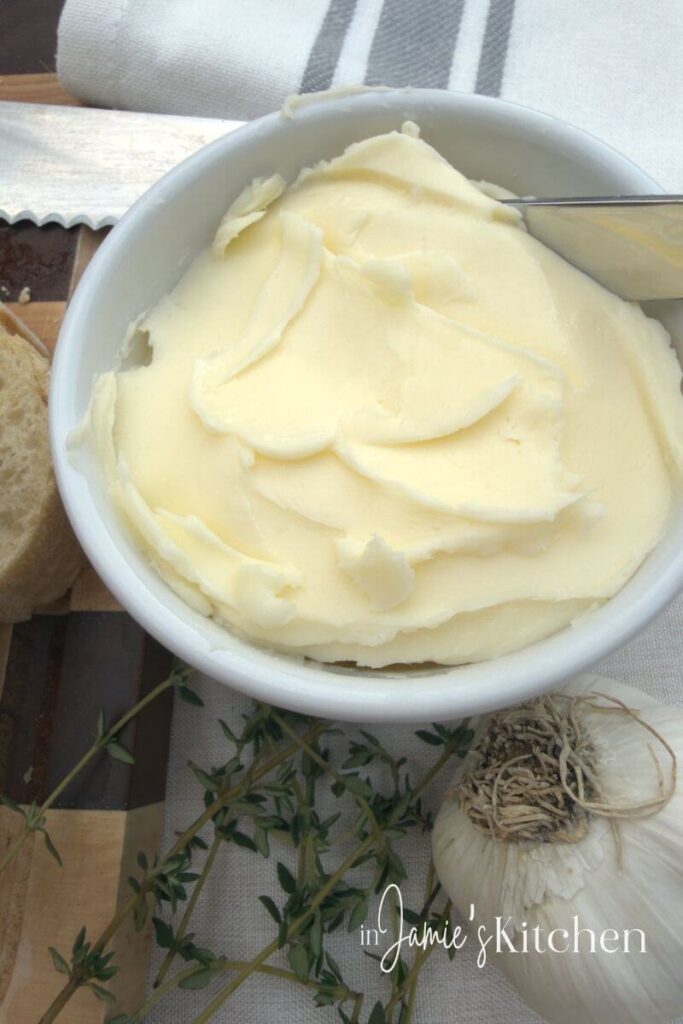
This one-ingredient homemade butter is delicious spread over warm bread, biscuits, pancakes, waffles, or muffins. You can also customize it with honey, cinnamon, garlic, herbs, and other flavorful additions.
Homemade butter is also a thoughtful gift idea. Shape it into a log, wrap it in parchment paper, secure it with twine, and pair it with a loaf of homemade sourdough or another fresh bread for a simple but special treat.
Why You’ll Love Homemade Butter
There’s something so satisfying about watching ordinary heavy whipping cream turn into butter right in your kitchen. It feels impressive, but the process is actually very straightforward.
- You only need one main ingredient.
- The stand mixer does almost all the work.
- You can make it salted or unsalted.
- It’s easy to customize with sweet or savory flavors.
- You also get fresh sweet-cream buttermilk to use in other recipes.
- Homemade butter makes a beautiful edible gift.
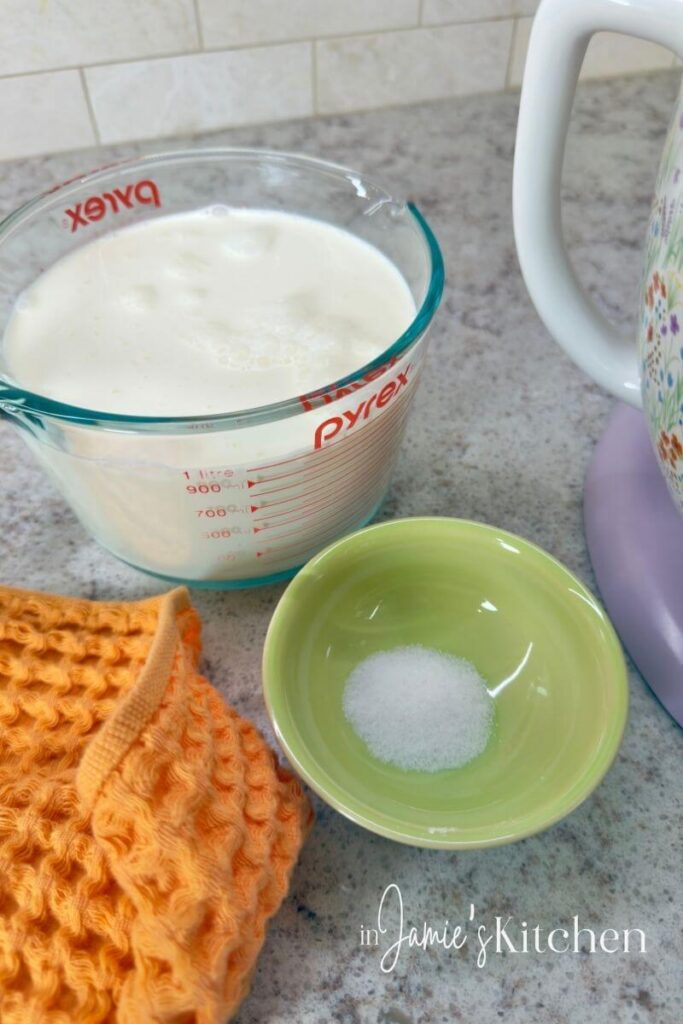
Ingredients for Homemade Butter
You only need two ingredients to make this stand mixer butter recipe:
- 4 cups heavy whipping cream
- ½ teaspoon fine salt, optional
You will also need plenty of ice-cold water for washing the finished butter.
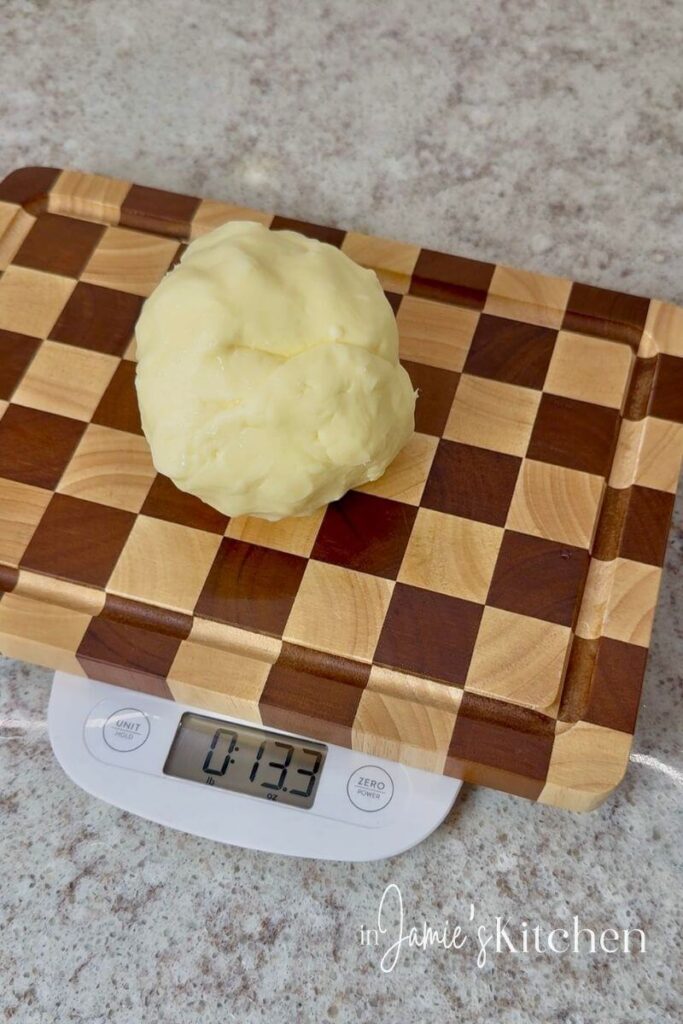
My four cups of heavy whipping cream produced just over 13 ounces of homemade butter. The exact yield may vary slightly depending on the butterfat content of your cream and how thoroughly you remove the remaining liquid.
Helpful Tools
A Stand Mixer fitted with the whisk attachment makes this process incredibly easy. The cream will splash once it begins separating, so you will also need a clean kitchen towel or a compatible Splatter Guard.
My KitchenAid mixer has a ceramic bowl that isn’t compatible with most splatter guards, so I securely cover the bowl with a clean kitchen towel. Make sure the towel remains well away from the whisk and all moving parts, and always turn off the mixer before adjusting or removing it. If your mixer has a compatible stainless-steel bowl, a splatter guard is a convenient option.
After washing the butter, I use my Cutting Boards as a clean work surface. A Bench Scraper is helpful for dividing the butter and shaping it into blocks or logs.
I also use a Pop Out Tray to freeze the leftover buttermilk in convenient portions for future recipes.
Should Heavy Whipping Cream Be Cold?
You can make butter with heavy whipping cream straight from the refrigerator, but I’ve found that cream works more quickly when it isn’t quite as cold.
For faster results, let the cream sit at room temperature for approximately 30–45 minutes before you begin. It should still feel cool, not warm. If you want to start with cold cream, that’s completely fine—it will still turn into butter, but the process may take a little longer.
How to Make Butter from Heavy Whipping Cream
The process is simple, but the cream will pass through several different stages before it becomes butter. Don’t stop when it turns into whipped cream; keep mixing until the butterfat completely separates from the liquid.
The Stages of Making Homemade Butter
*printable recipe card is available at the bottom of this page
Step One: Begin Mixing the Cream
Pour the heavy whipping cream into the bowl of a stand mixer fitted with the whisk attachment.
Begin mixing on low speed to prevent the liquid from splashing out of the bowl. I started my mixer at speed 2.
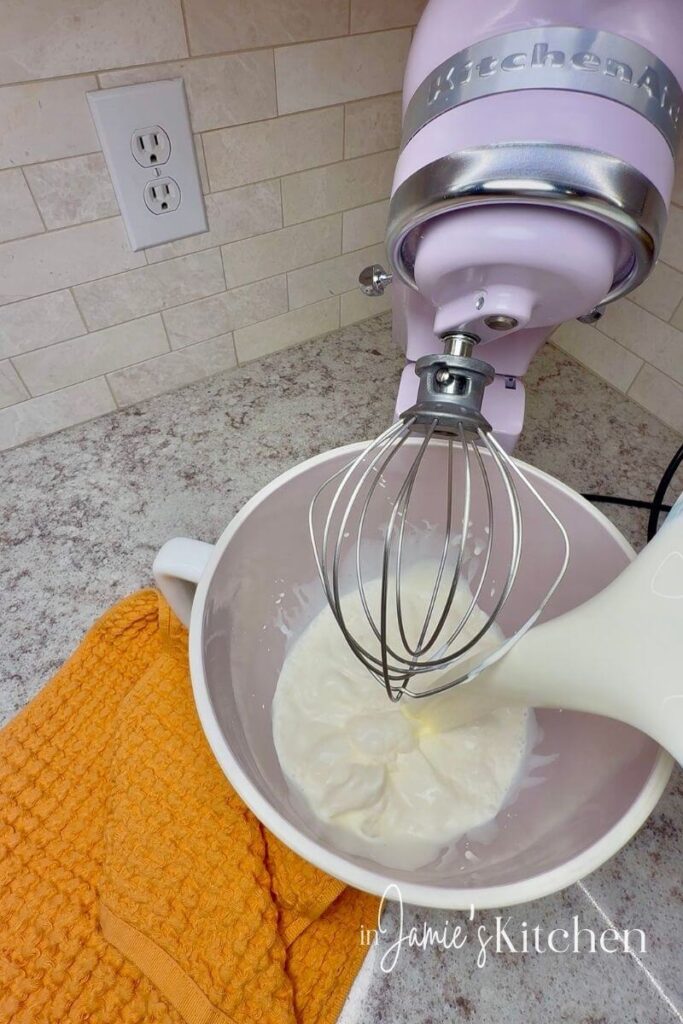
Step Two: Let the Cream Thicken
After approximately five minutes, the cream will begin to look noticeably thicker. At this point, I increased my mixer to speed 4.
As the cream thickens, it may begin splattering slightly. Securely cover the bowl with a clean kitchen towel or attach a compatible splatter guard before continuing.
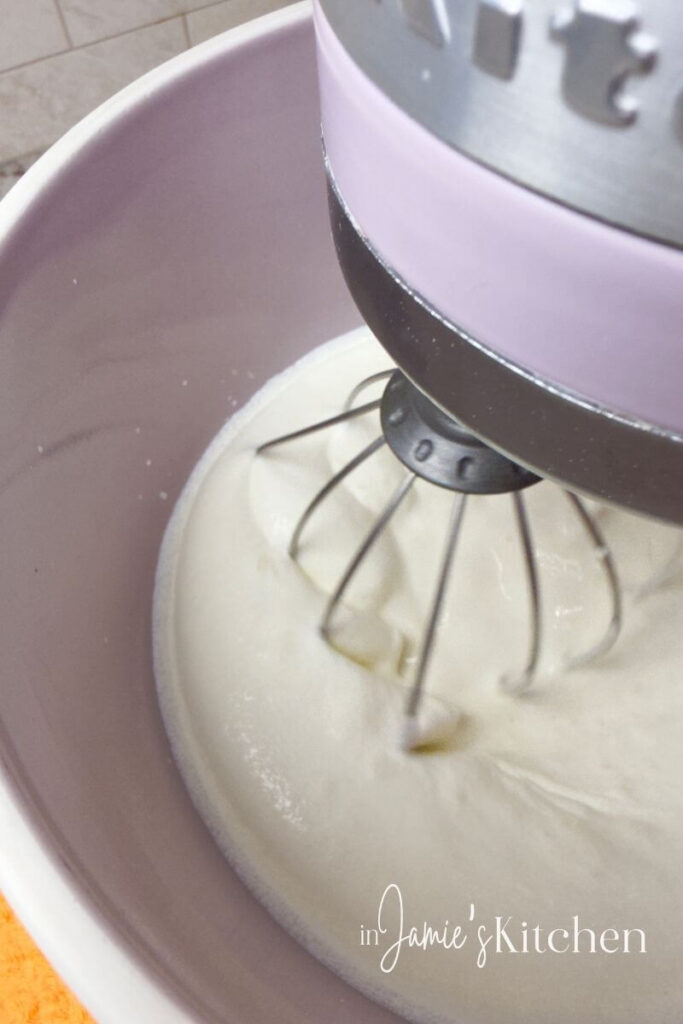
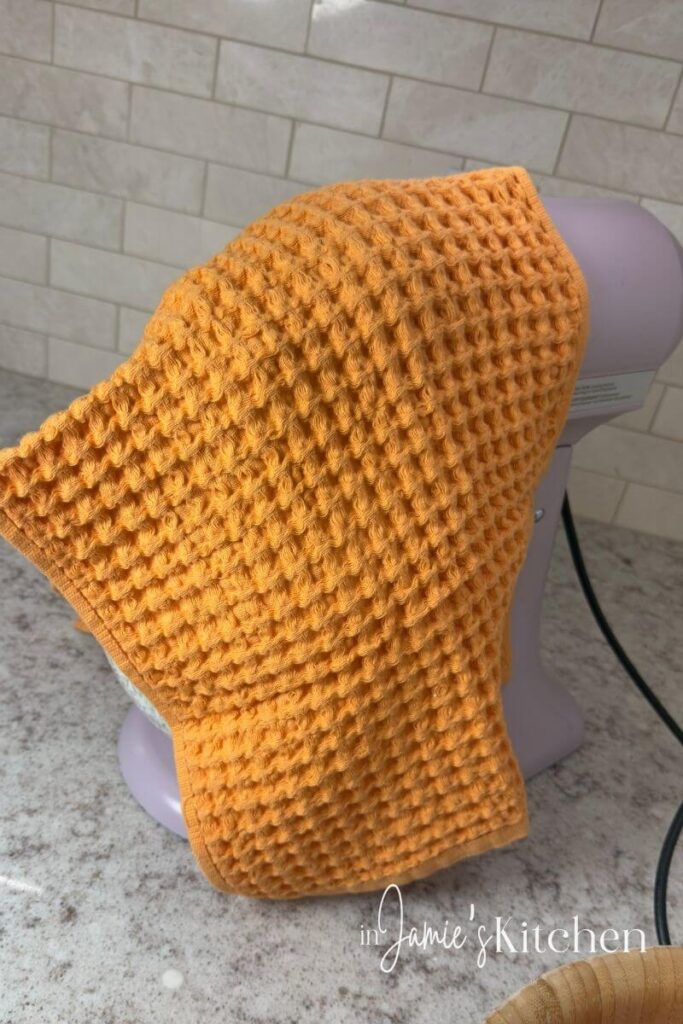
Step Three: Continue Past the Whipped-Cream Stage
After approximately nine minutes of total mixing time, my cream had become thick and fluffy like whipped cream.
This is an important stage, but it isn’t butter yet. Scrape down the sides of the bowl if necessary, cover the bowl again, and continue mixing at medium-high speed.
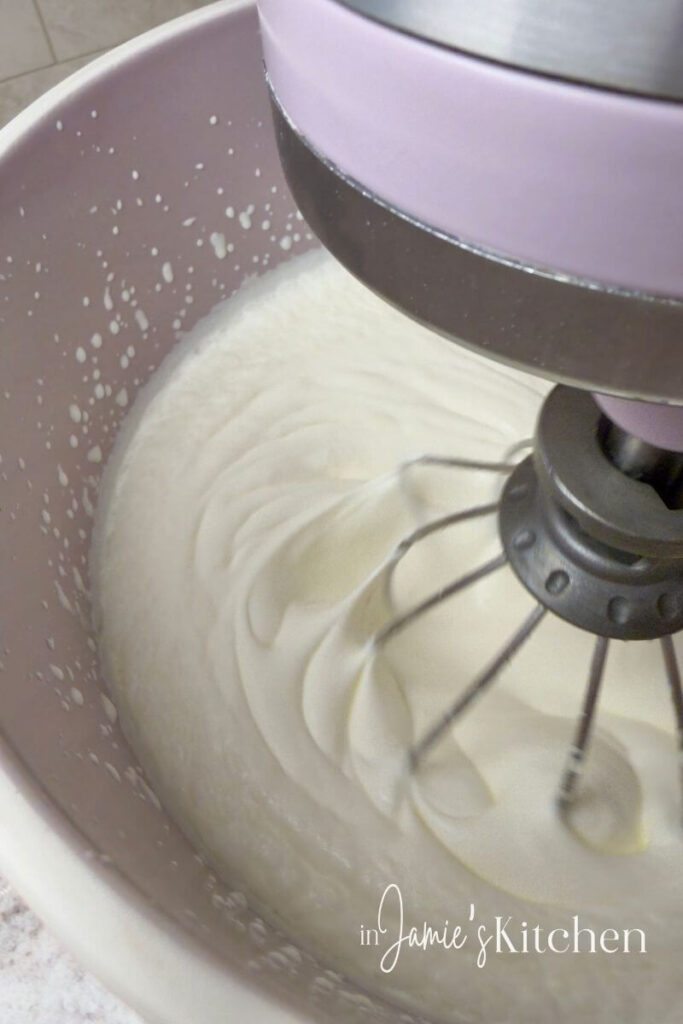
Step Four: Watch for the Grainy Stage
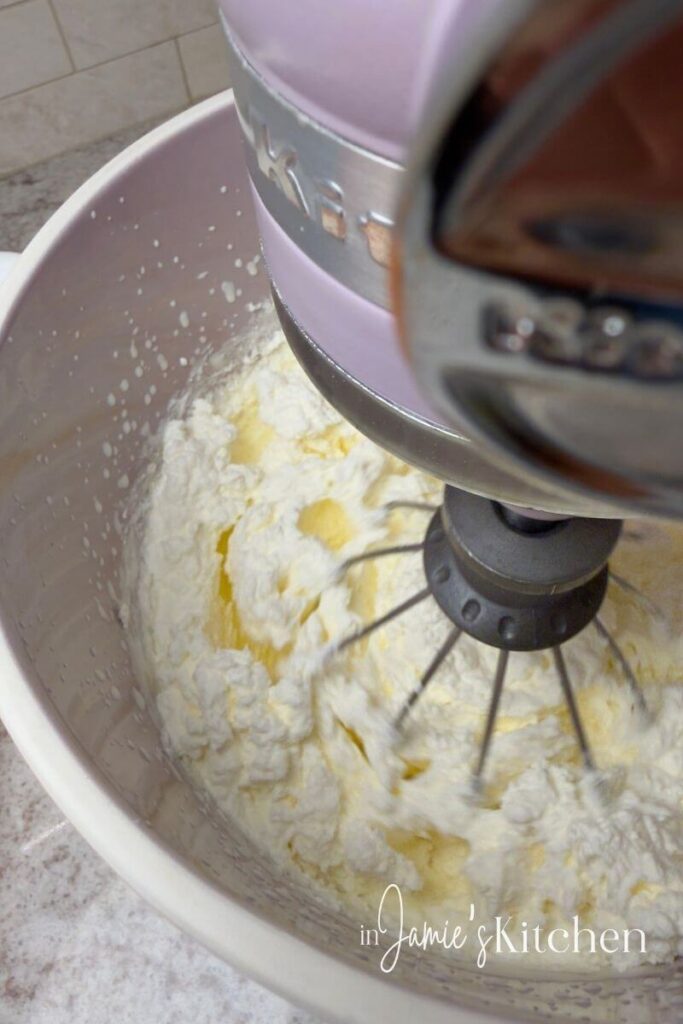
As you continue mixing, the whipped cream will begin losing volume and take on a rough or grainy appearance. Pale-yellow flecks may begin appearing throughout the mixture.
This means the butterfat is starting to clump together. Stay close to the mixer because the final separation can happen very quickly.
Step Five: Listen for the Butter to Separate
At approximately 12 minutes, I scraped down the sides of my mixer bowl and increased the speed slightly. About one minute later, I could hear liquid sloshing inside the covered bowl.
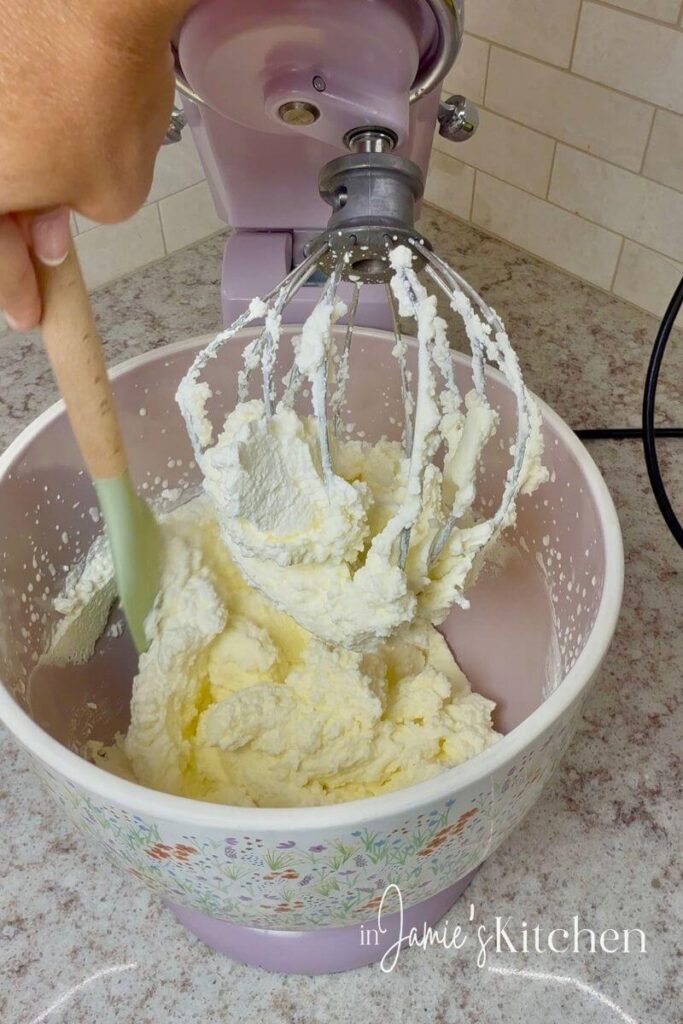
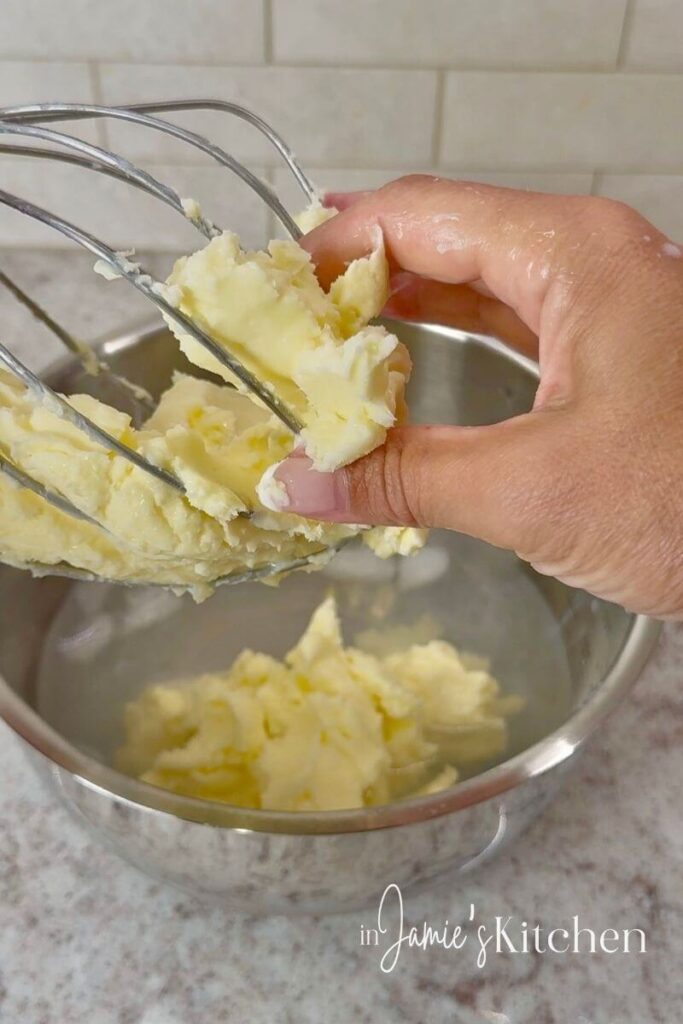
After approximately 13 minutes of total mixing time, the cream had separated into solid yellow clumps of butter and a thin liquid.
Turn the mixer to low or stop it as soon as you hear the liquid. If the butter is still in very small pieces, mix on low for another 10–15 seconds to help the pieces gather together.
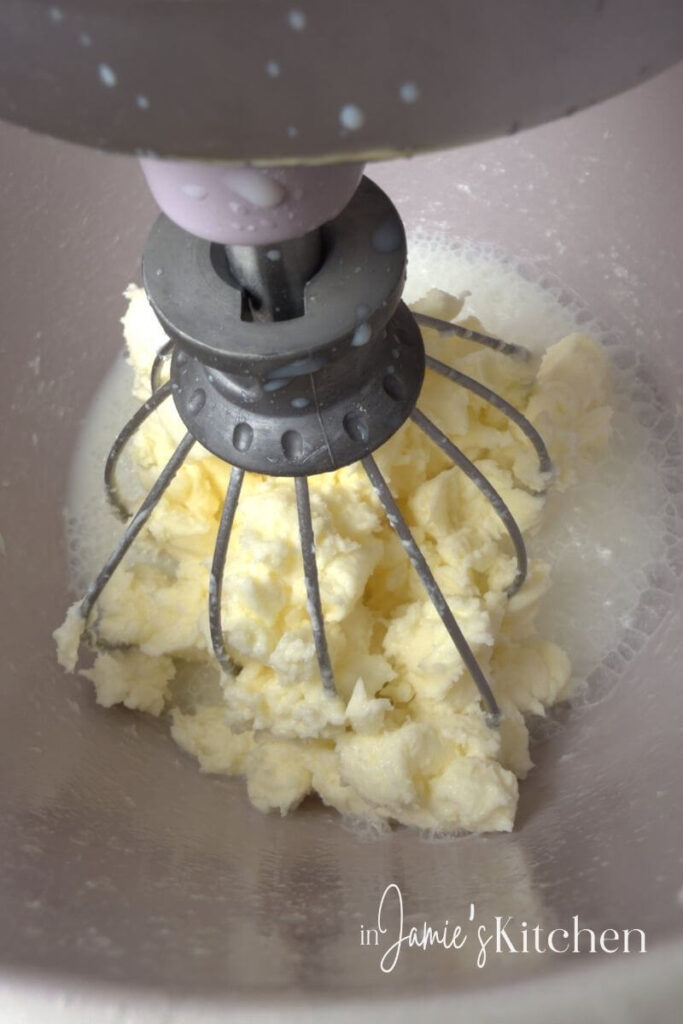
The exact timing will depend on the temperature of your cream, the speed of your mixer, and the amount of cream you use.
Step Six: Strain the Butter
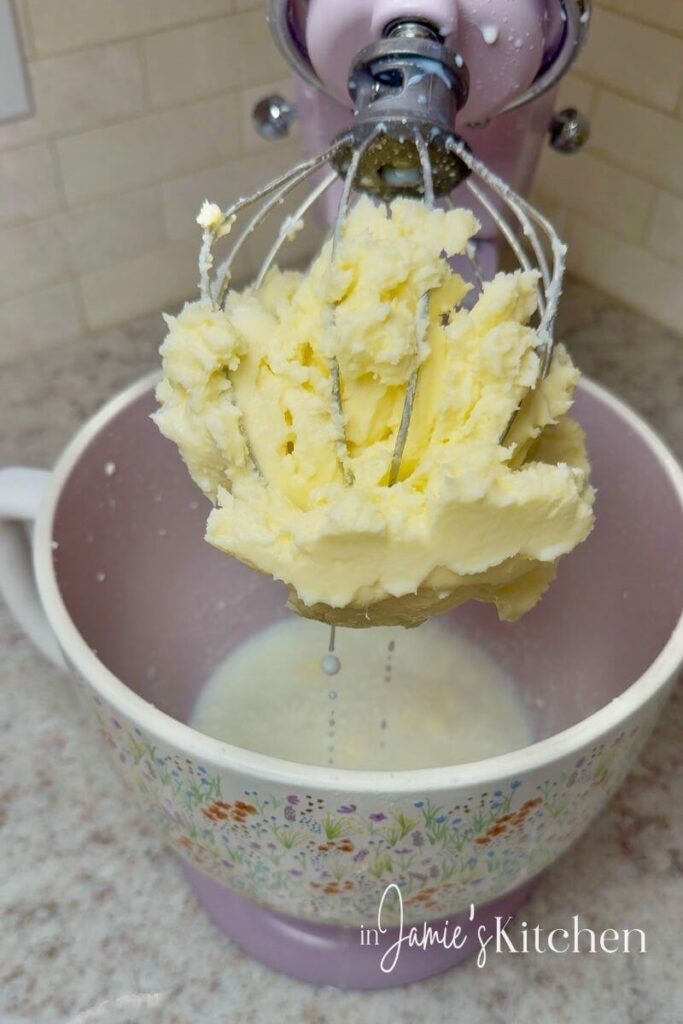
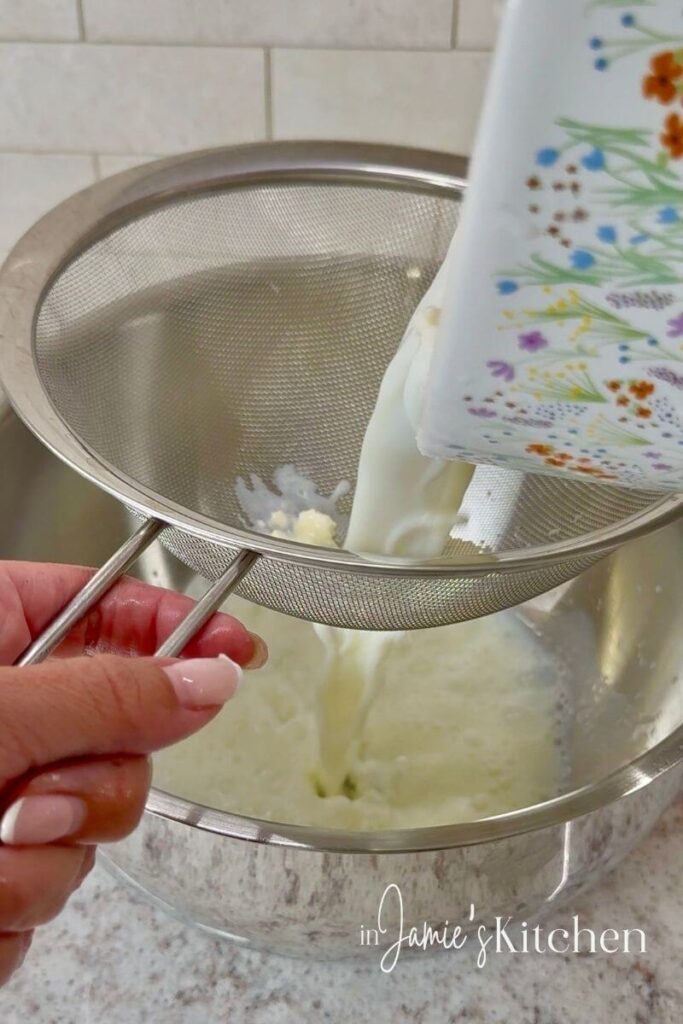
Remove any butter that is stuck in the whisk. Pour the liquid through a fine-mesh strainer into a clean container to separate any remaining butter from the liquid. The liquid is sweet-cream buttermilk, and it can be saved for another use.
How to Wash Homemade Butter
Washing the butter removes the remaining buttermilk and helps the finished butter stay fresh longer.
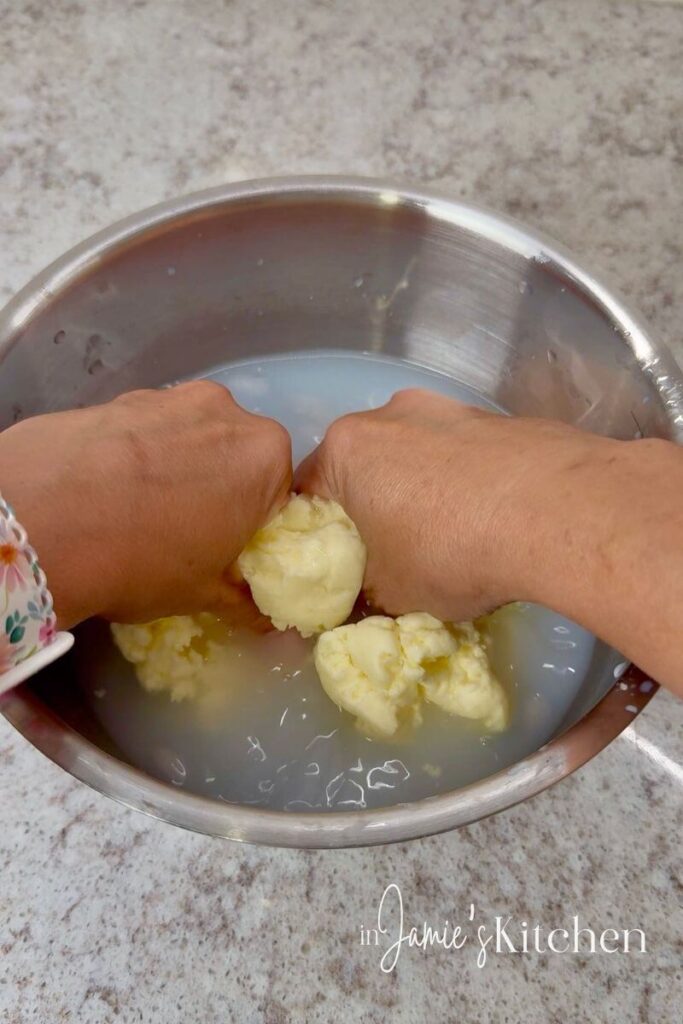
Transfer the butter to a bowl filled with ice-cold water. Using clean hands or a sturdy spatula, knead and press the butter under the water. The water will become cloudy as more buttermilk is released.
Drain the cloudy water and refill the bowl with fresh ice water. Continue kneading, draining, and replacing the water until it remains mostly clear.
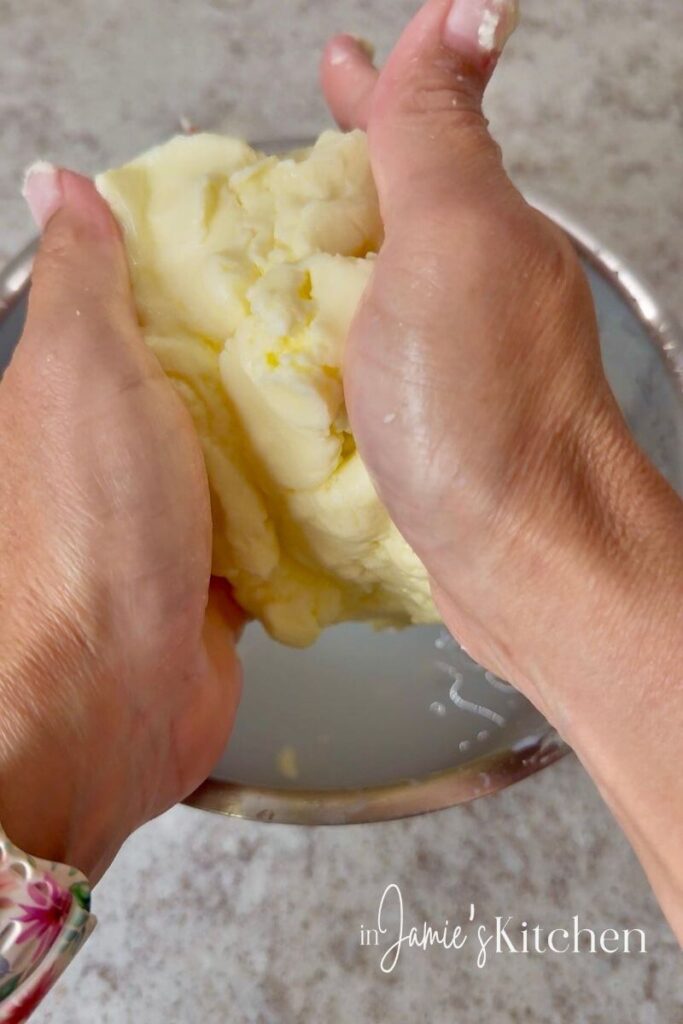
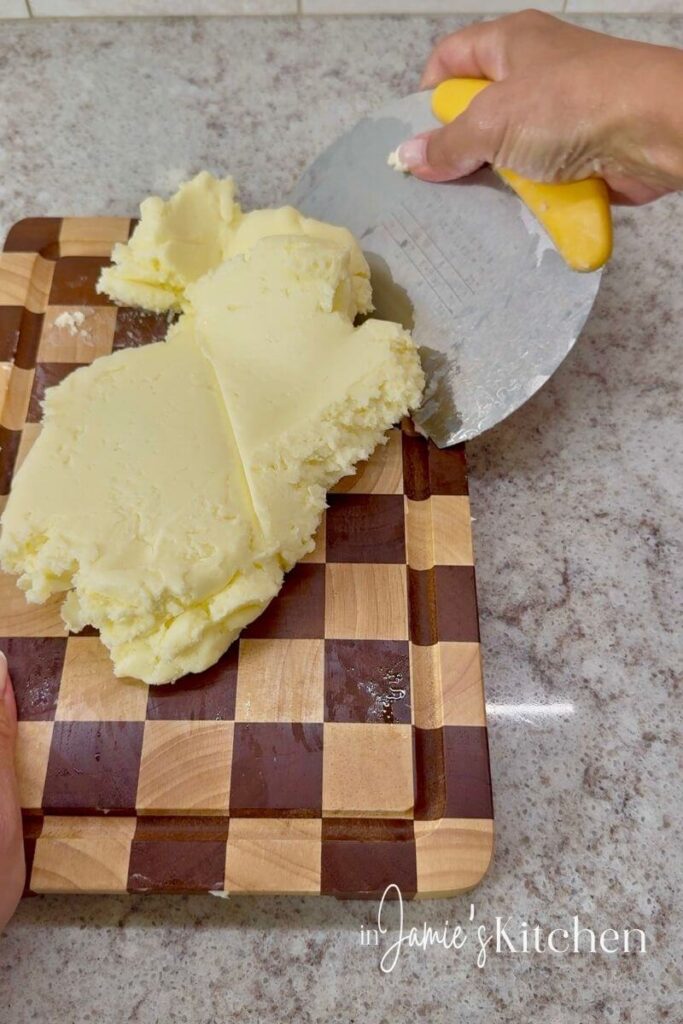
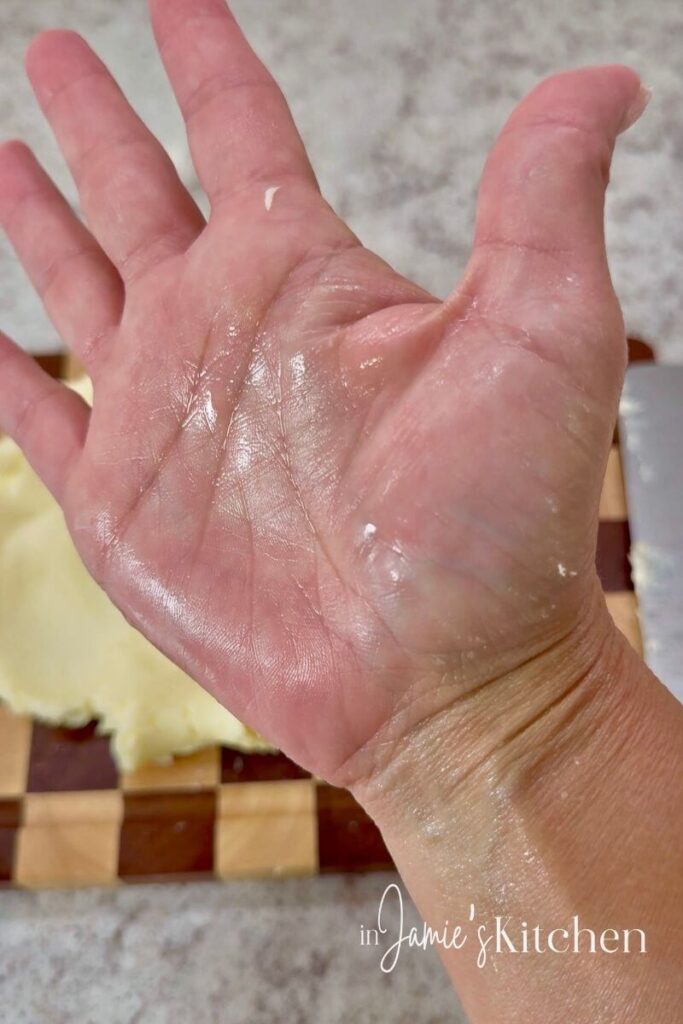
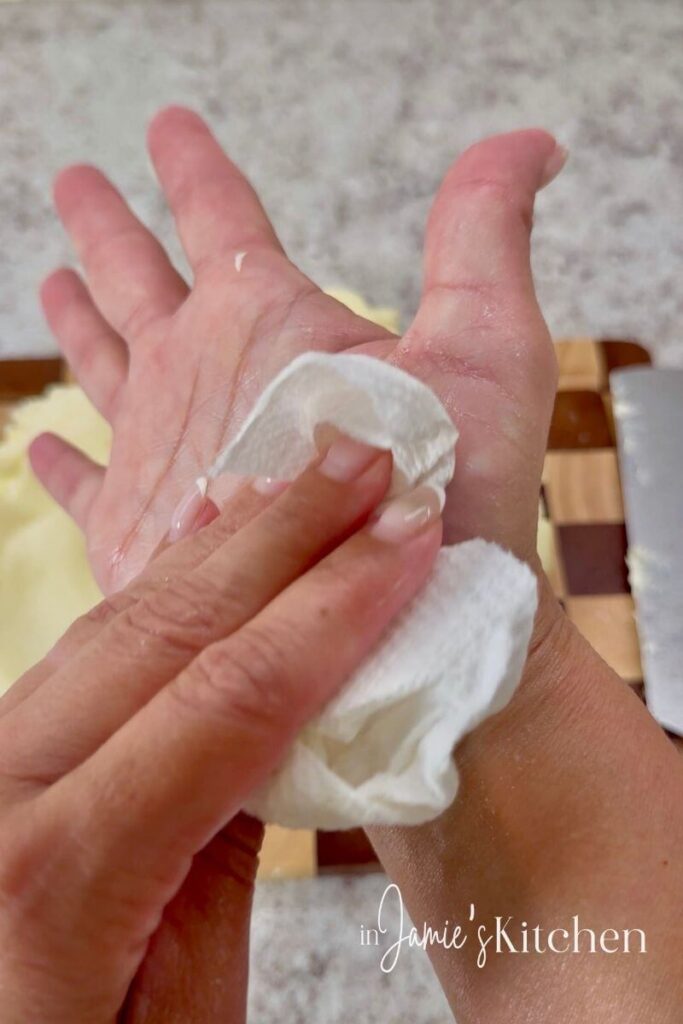
Transfer the washed butter to a clean cutting board. Press it repeatedly with a spatula or bench scraper to remove any pockets of water that remain. As you continue to work with the butter, keep a paper towel handy to dry hands or tools if they become damp.
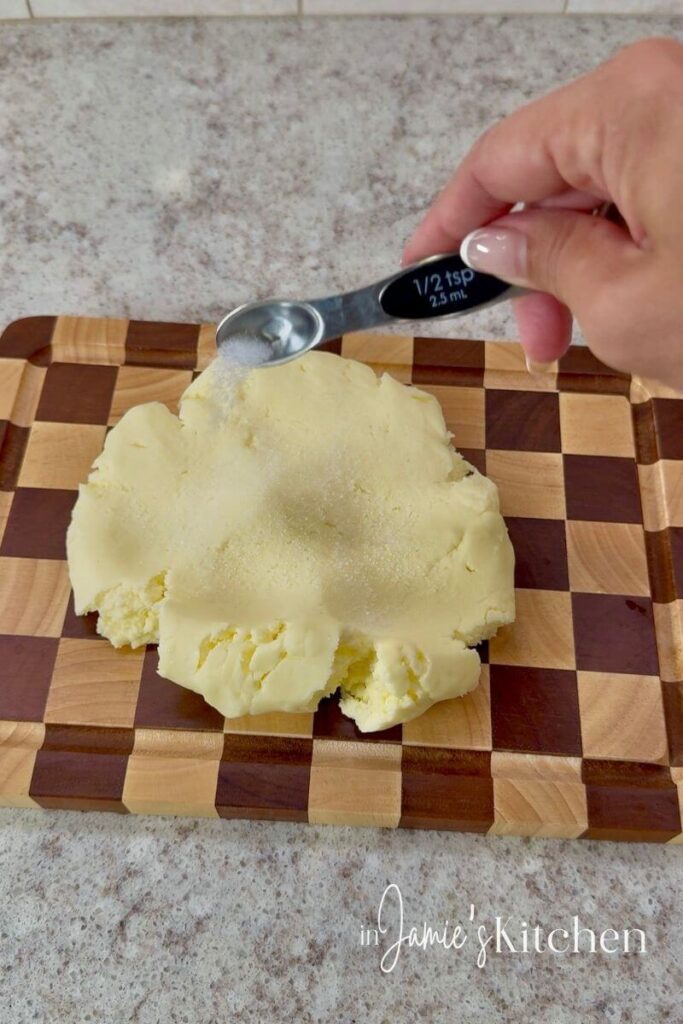
Sprinkle the optional salt over the butter and knead until it is evenly distributed. Start with approximately ½ teaspoon for the full 13-ounce batch, then taste and add more if desired.
What to Do with Buttermilk After Making Butter
The liquid left behind after making butter is traditionally called buttermilk. However, this is sweet-cream buttermilk, which is thinner and less acidic than the thick, cultured buttermilk sold at the grocery store.
You can use it anywhere a little extra dairy would be welcome, including pancakes, waffles, smoothies, mashed potatoes, sauces, soups, and certain baked goods. Because it isn’t as acidic as cultured buttermilk, it may not work as an equal substitute in baking recipes that depend on acidic buttermilk to react with baking soda.
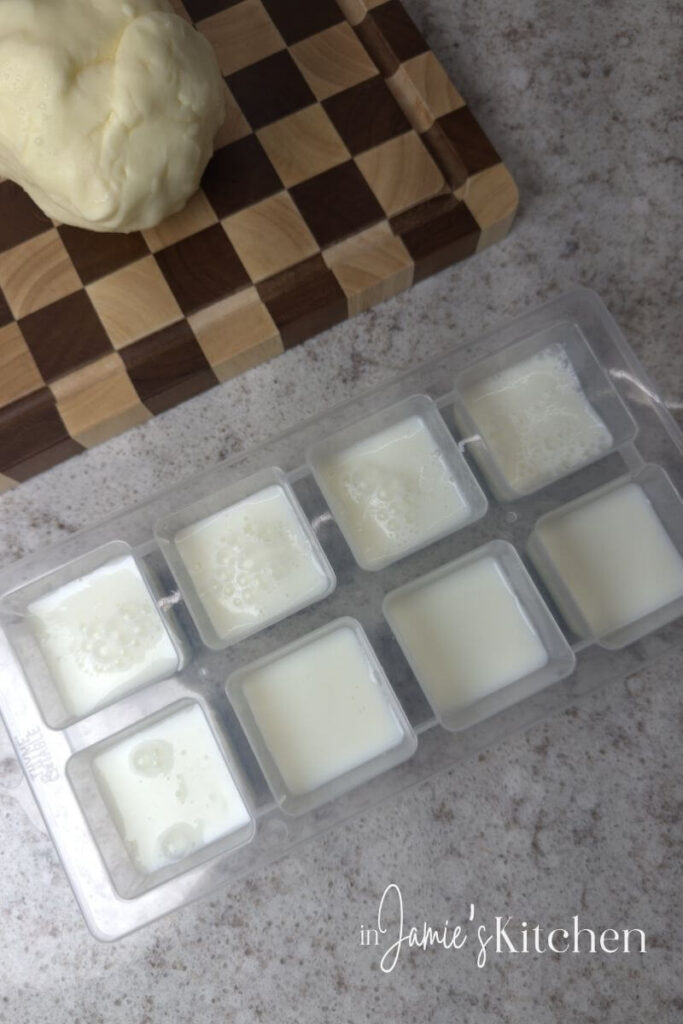
Store the buttermilk in a covered container in the refrigerator and use it promptly. For longer storage, pour it into a pop-out freezer tray and freeze it in individual portions. Leave some room in each compartment because the liquid will expand as it freezes.
Once frozen, remove the portions and place them in a labeled freezer bag or airtight container. Thaw the amount you need in the refrigerator and stir it before using.
How to Make Cinnamon Honey Butter
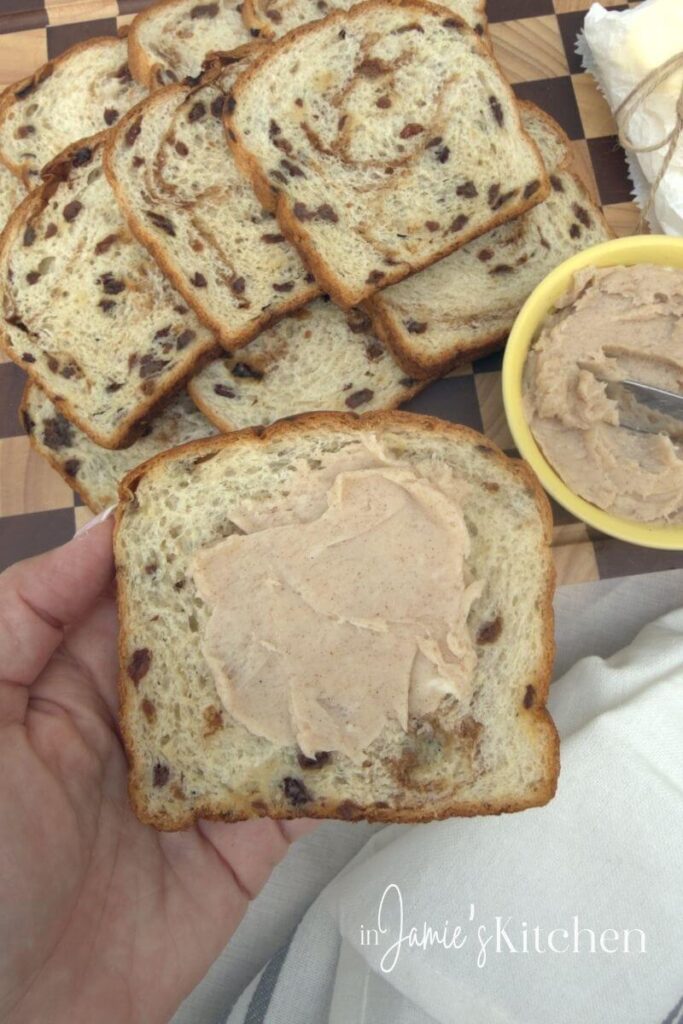
Once you’ve prepared the basic butter, you can easily turn part of it into cinnamon honey butter.
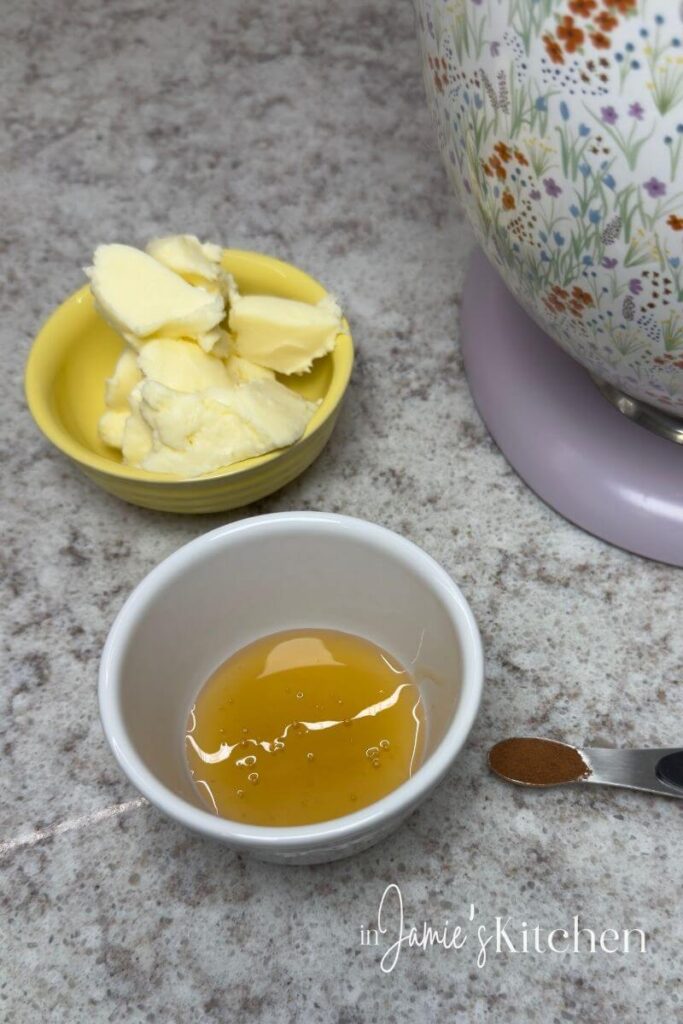
For my cinnamon honey variation, I used:
- 4 ounces softened homemade butter
- 1 tablespoon honey
- ¼ teaspoon ground cinnamon
Place the softened butter, honey, and cinnamon in the clean bowl of your stand mixer fitted with the paddle attachment.
Mix on low until the ingredients begin coming together. Increase to medium speed and whip for approximately 30–60 seconds, scraping down the sides of the bowl as needed.
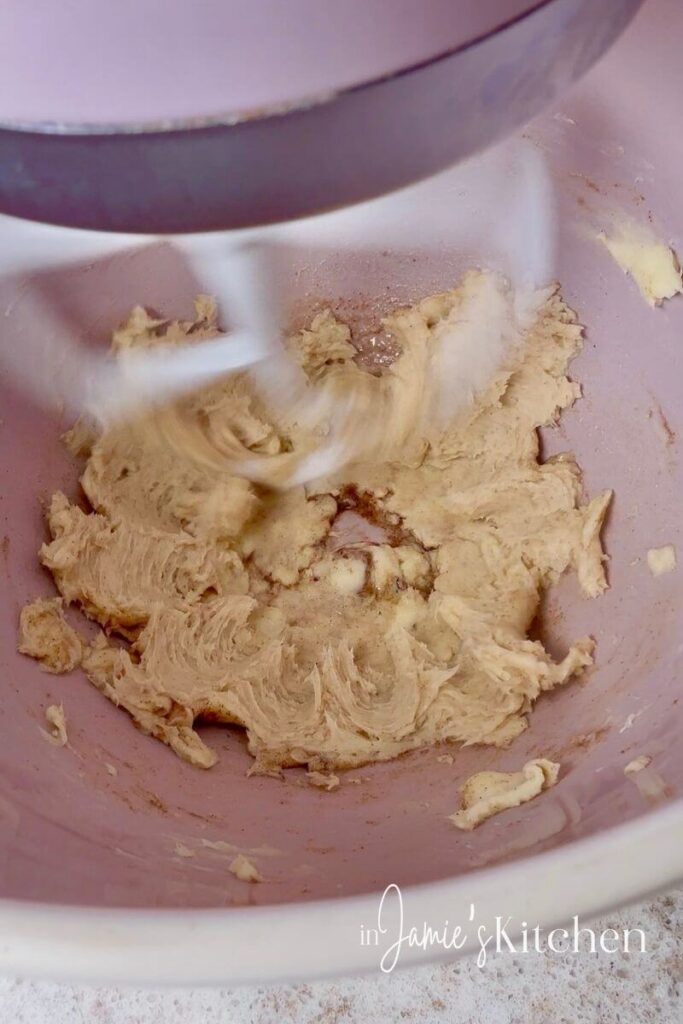
The finished cinnamon honey butter should be smooth, creamy, and easy to spread. It is especially delicious on cinnamon-raisin bread, pancakes, waffles, biscuits, or warm dinner rolls.
Other Flavors to Add to Homemade Butter
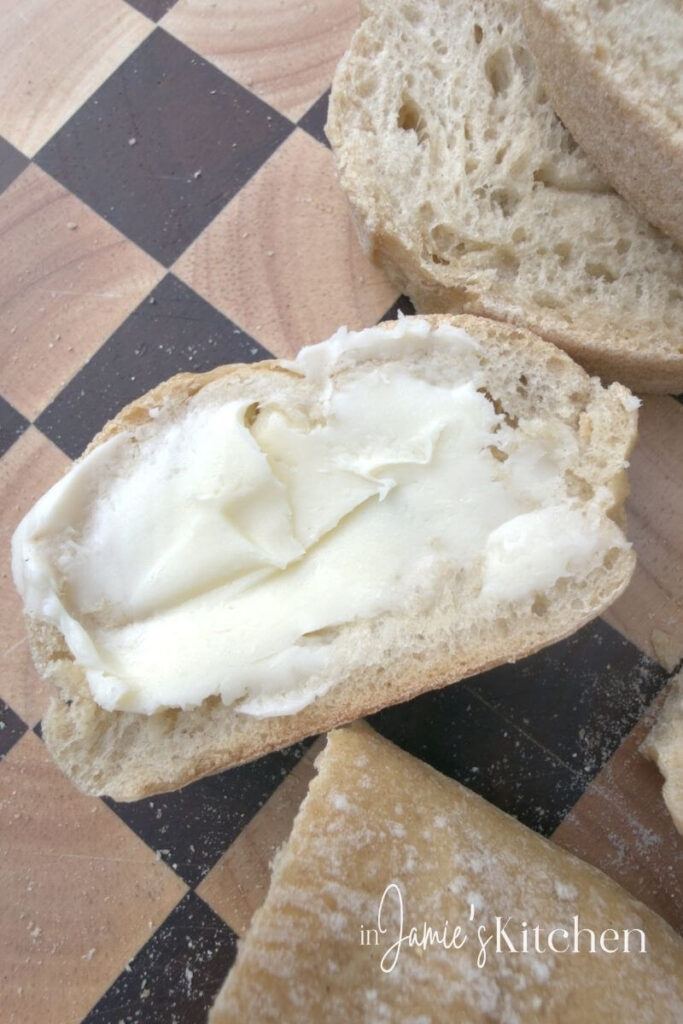
Homemade butter is easy to customize with different inclusions. After washing and salting the butter, allow it to soften slightly and mix in your desired flavors using the paddle attachment.
For a savory garlic and thyme butter, combine 4 ounces of softened butter with one small finely grated garlic clove and approximately 1 teaspoon of fresh thyme leaves. Mix until evenly combined. This would be delicious melted over steak, chicken, potatoes, vegetables, or warm baguette slices.
Other inclusion ideas include:
- Fresh chives, parsley, rosemary, or basil
- Roasted garlic
- Flaky sea salt and cracked black pepper
- Honey or maple syrup
- Cinnamon or pumpkin pie spice
- Lemon or orange zest
- Finely chopped dried fruit
- Grated Parmesan cheese
Fresh herbs and garlic can add moisture and microorganisms to the butter, so flavored compound butter should always remain refrigerated.
A Homemade Butter Gift Idea
Homemade butter makes a thoughtful hostess, neighbor, teacher, or holiday gift. It feels special and homemade without requiring an overly complicated recipe.
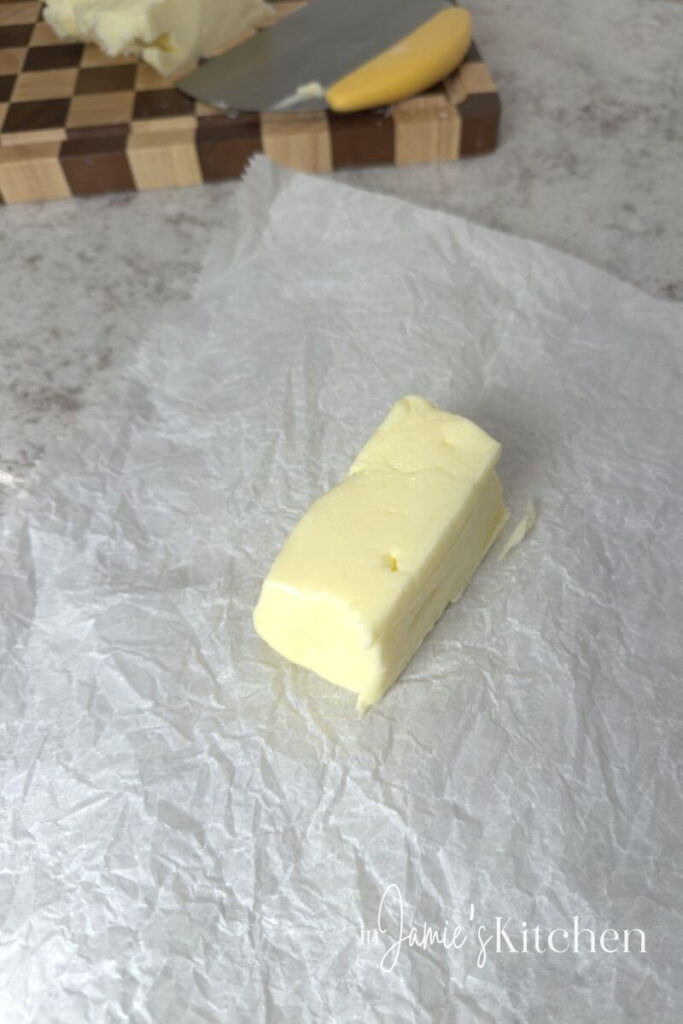
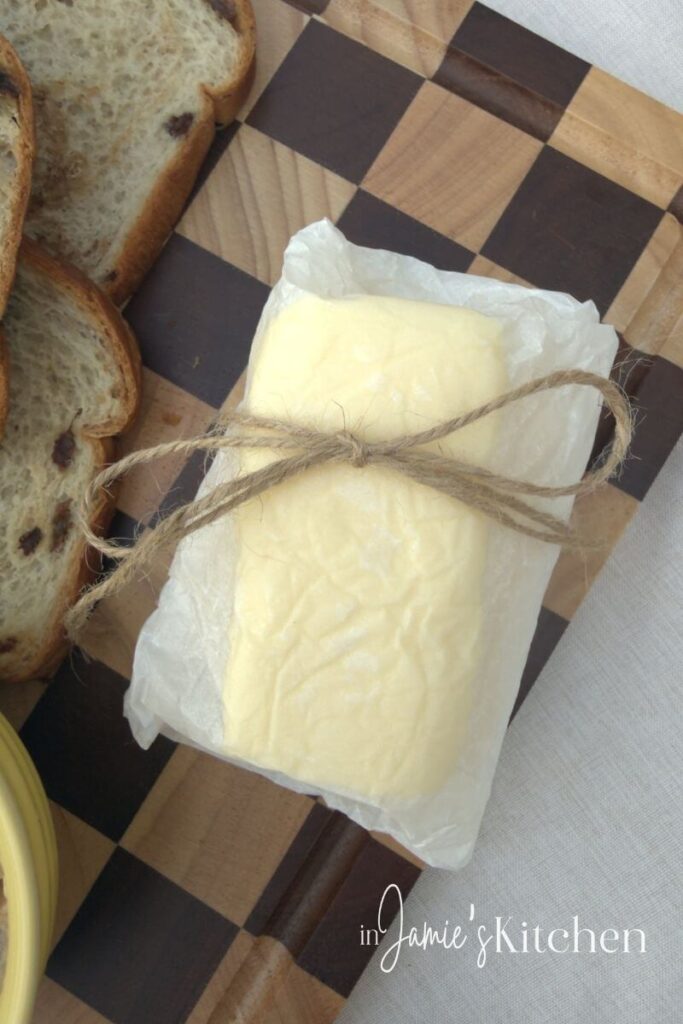
Use a bench scraper to shape the butter into a neat block or log. Wrap it tightly and refrigerate it until firm. For gifting, cover it with parchment paper, fold or twist the ends, and secure the package with kitchen twine.
Add a small label with the flavor, the date it was made, and instructions to keep it refrigerated. Pair the butter with homemade sourdough, a fresh baguette, biscuits, or another loaf of bread for a delicious gift.
If you are transporting the butter, keep it chilled until it reaches the recipient.
How to Store Homemade Butter
Place homemade butter in an airtight container or wrap it tightly before refrigerating. For the best flavor and quality, plan to use it within approximately one week.
Rather than storing the entire batch at room temperature, remove only the amount you intend to serve and let it soften for about 10–15 minutes. This keeps the remaining butter fresh while still giving you soft, spreadable butter.
For longer storage, divide the butter into smaller portions, wrap each one tightly, and freeze. Thaw frozen butter in the refrigerator before using it.
How Long Does It Take to Make Butter in a Stand Mixer?
My four cups of slightly tempered heavy whipping cream separated into butter and buttermilk after approximately 13 minutes of mixing.
Very cold cream may take longer. The timing can also vary depending on the speed and size of your mixer, the quantity of cream, and its butterfat content.
Remember to watch for the visual stages rather than relying only on the clock. The cream will become whipped, turn grainy, and then suddenly separate into yellow butter solids and liquid.
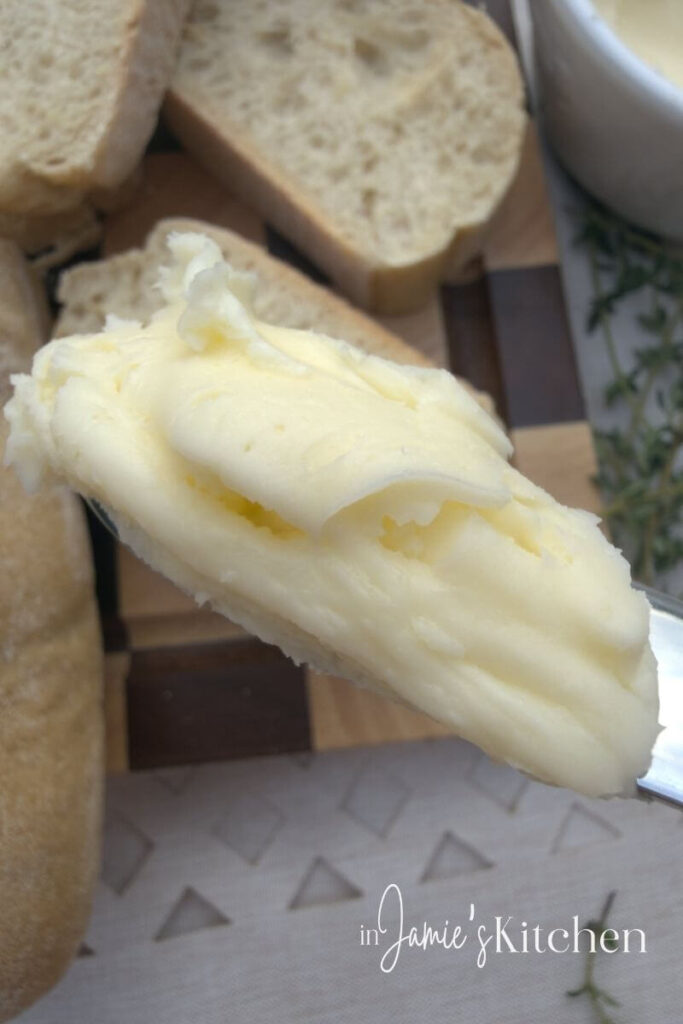
What to Serve with Homemade Butter
Once you’ve made your own butter, try it spread over warm biscuits, pancakes, waffles, or a slice of homemade quick bread. These recipes are especially delicious with plain salted butter or cinnamon honey butter:
Is Homemade Butter Worth Making?
Is making homemade butter an extra thing to do? Absolutely. It’s certainly easier to pick up a package of butter at the grocery store.
But if you can come up with the time, I think it’s worth doing—especially when you want to make fresh bread feel even more special, create flavored butter for a meal, or give someone a thoughtful homemade gift.
The process is simple, the transformation is fun to watch, and the flavor of fresh butter spread over warm bread is hard to beat. As a bonus, you end up with fresh buttermilk that can be refrigerated or frozen for another recipe. It’s a little extra effort that creates something genuinely delicious.
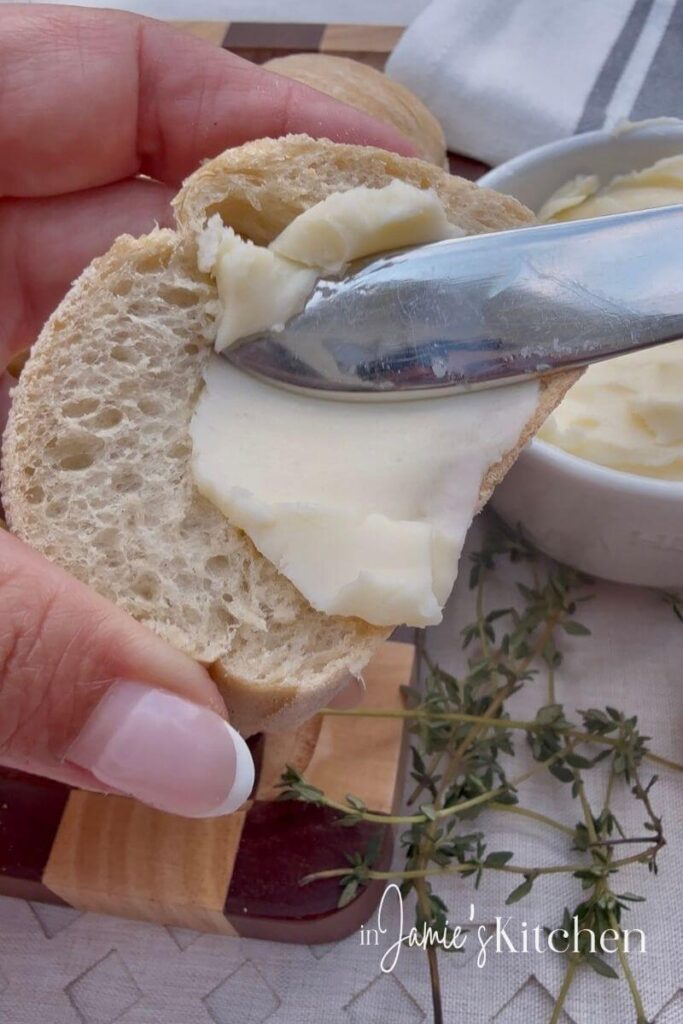
Homemade Butter in a Stand Mixer
Ingredients
- 4 cups heavy whipping cream
- ½ teaspoon fine salt optional
- Ice-cold water as needed
For Cinnamon Honey Butter
- 4 ounces prepared homemade butter softened
- 1 tablespoon honey
- ¼ teaspoon ground cinnamon

Instructions
- Allow the heavy whipping cream to sit at room temperature for 30–45 minutes. The cream should still feel cool, but letting it warm slightly will help it turn into butter faster. You can use cream straight from the refrigerator, but it may take longer.
- Pour the heavy whipping cream into the bowl of a stand mixer fitted with the whisk attachment.
- Begin mixing on low speed. Gradually increase the speed to medium-high as the cream begins to thicken.
- Cover the mixer bowl with a splatter guard or securely drape a clean kitchen towel over the bowl. Make sure the towel stays away from the whisk and all moving parts. Always stop the mixer before adjusting or removing the towel.
- Continue mixing as the cream passes through the soft whipped cream, stiff whipped cream, and grainy stages. After approximately 10–15 minutes, the butterfat will separate into pale-yellow clumps and liquid will collect in the bowl. You will usually hear the liquid sloshing when this happens.
- Turn the mixer to low or stop it as soon as the butter separates. If the butter is still in very small pieces, mix on low for another 10–15 seconds to help it gather together.
- Pour the liquid through a fine-mesh strainer into a clean container. Reserve this sweet-cream buttermilk for another use.
- Transfer the butter to a bowl of ice-cold water. Knead and press the butter with clean hands or a sturdy spatula to release the remaining buttermilk.
- Drain the cloudy water and repeat the washing process with fresh ice water until the water remains mostly clear.
- Transfer the washed butter to a clean cutting board. Press it with a spatula or bench scraper to remove as much remaining water as possible.
- Sprinkle the salt over the butter and knead until it is evenly distributed. Taste and adjust the amount of salt if desired.
- Use a bench scraper to divide and shape the butter into blocks or logs. Wrap tightly or transfer to an airtight container and refrigerate.
Cinnamon Honey Butter
- Place 4 ounces of softened homemade butter in the clean bowl of a stand mixer fitted with the paddle attachment.
- Add 1 tablespoon of honey and ¼ teaspoon of ground cinnamon.
- Mix on low until combined, then increase to medium speed and whip until smooth and creamy, about 30–60 seconds. Scrape down the sides of the bowl as needed.
- Serve immediately or transfer to a covered container and refrigerate. Allow it to soften slightly before serving.
Video
Notes
- Very cold cream will still turn into butter; it will simply take longer. Slightly tempered cream separated in approximately 13 minutes during recipe testing.
- The reserved liquid is sweet-cream buttermilk, not the thick, acidic cultured buttermilk sold at the grocery store.
- Refrigerate the buttermilk or pour it into a pop-out freezer tray and freeze it in convenient portions. Leave room for the liquid to expand.
- Homemade butter should be kept tightly covered in the refrigerator. This is especially important for flavored butter containing honey, garlic, or fresh herbs.
- For gifting, chill the shaped butter until firm, wrap it tightly, and then cover it with parchment paper secured with twine. Add a label instructing the recipient to keep it refrigerated.






0 Comments